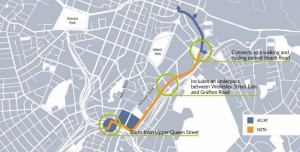
 On Friday, I got the chance to attend a presentation and subsequent walk-over of the Grafton Gully Cycleway, courtesy of NZTA.
While I have been involved literally for years with the project (possibly longer than anyone in the busy room, including the project team?), this was actually the first time I walked all the route.
So this is a long and enthusiastic post about how the project is looking, and about the intricacies on the way to it’s nearly completed state!
The presentation from the NZTA’s project manager and the main contractor’s project manager explained the significance of the project, the staging of the various sections with their very different requirements (the NZTA project manager noting that essentially, it was 8-10 distinct projects). They then discussed some of the design and construction issues that cropped up (scroll down to the photos if the engineering and construction aspects don’t really interest you):
- How NZTA became convinced they needed to iron out some of the worst gradients: In short, we at CAA complained about a couple of the proposed gradients. So the project team actually organised themselves to go on bikes (Applause! more of our cycleway and road designers need to do this!) for a ride around various increasingly steep hills in Auckland to test out what 4%, 6% or 10% gradient really mean – and the project manager eventually had to give up and push his bike… This gave them some impetus to sweat the design more to avoid the worst gradients, despite a lot of constraints (of course it DOES remain a long uphill even so, but well, that can’t always be avoided in Auckland).
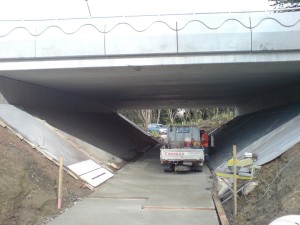
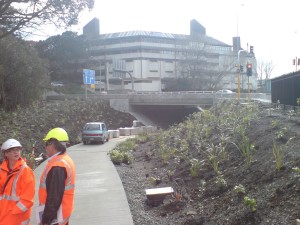
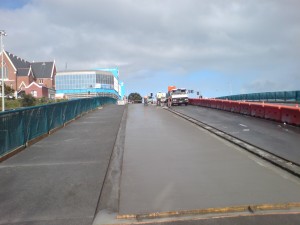
- The history of the Wellesley Street Underpass: This is in fact really a bridge, not an underpass – the original underpass design was apparently significantly more expensive, because it used a straighter alignment and tried to avoid interrupting traffic on Wellesley Street East during the construction. However, the team missed the Christmas period 2013 for any potential road closures during construction of an alternative solution, and so were actually looking at a whole-project delay to Christmas 2014 if they couldn’t make it work. So they came up with a design that could be built much more quickly via prefabricated and post-stressed concrete beams. This was able to be done over a much shorter Easter Break closure, and by splitting it into two bridges next to each other, they were able to retain two traffic lanes open, despite using the two biggest mobile cranes in NZ to lift the massive beams into place. The structure was designed and consented in 2-3 months, and then built in less than two weeks shortly after – while not a structural engineer, I can only say that that is indeed lightning speed… there’s a cool time-lapse video of the build taken from atop a nearby building, which should be accessible online soon.
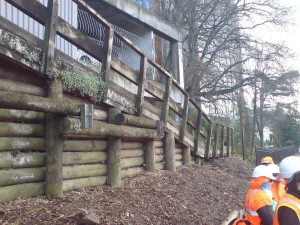
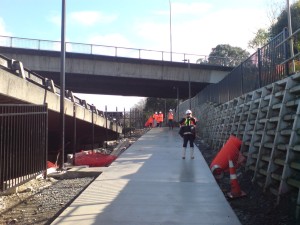
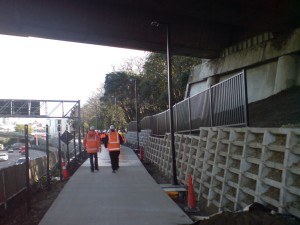
- Why the design includes a lot of ‘crib wall‘ retaining along the route: Basically, most retaining in recent years has been done with big piles – whether concrete or steel or wood. In fact, the original design envisaged it like this. However, these types of retaining walls tend to require big piling rigs to ram or bore the piles – rather large machines that would have been all but impossible to use along most of the route with its very tight corridor. By going with the crib wall system, they were able to have many more people working on more sections at the same time, and use much smaller diggers and equipment, with little heavy lifting needed, making the process faster and cheaper. Think construction LEGOs… flexible, and able to easily adapt to local shapes and constraints. Which was apparently highly useful, as most of the path is built on ground of very varying stability (much of it having been filled in earlier times, before and after motorways were constructed through the gully), so the cross-section of the required retaining changes wildly through the corridor…
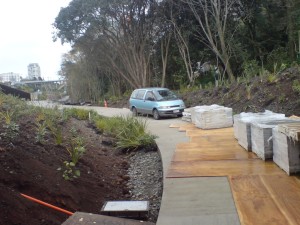
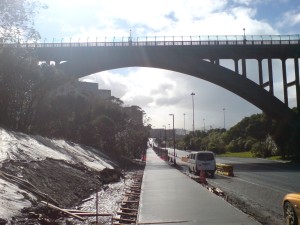
- How difficult it is to construct a path in such a tight corridor: Essentially, the path is 3m wide (4m in the lower parts along the university), with a bit (say half a metre) of extra landscaped “shy space” each side along most sections (so cyclists can use the whole width of the sealed surface). But the available width for construction was often not or only marginally wider than that – for most sections, there wasn’t even space anywhere to turn a truck around. So imagine delivering materials to the end of the site – backing a truck over several hundred meters of narrow road… it also required all the extra “Level 3” precautions for a worksite directly next to a live motorway. Future cyclists will be protected by crash barriers and safety fences, but the guys in the orange vests didn’t have the full deal in place yet while they were doing their work…
By the way, if I got anything wrong above, you can blame my faulty hearing, failing memory, or the university lecturers I had during my structural engineering and construction management classes quite a long while ago 😉
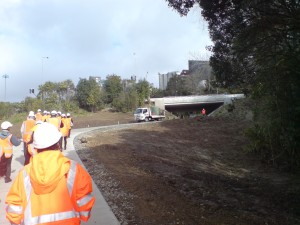
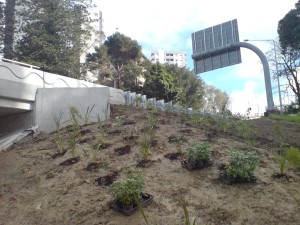
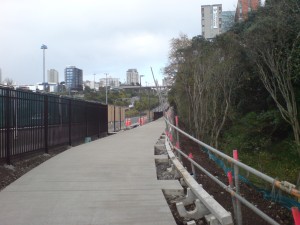
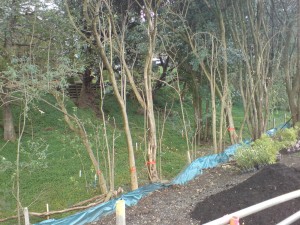
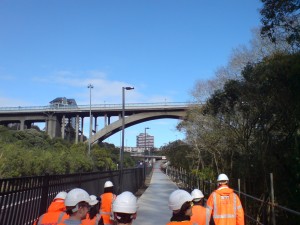
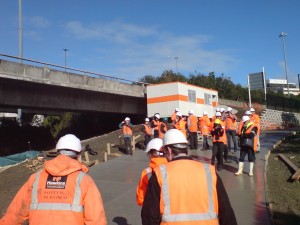
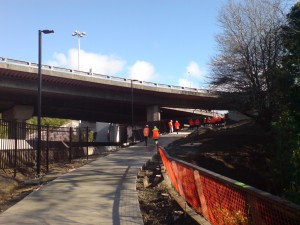
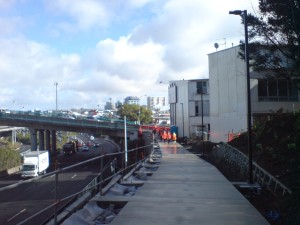
After the presentation we walked the route, so here are a few photos to whet your appetite for this ~$12 million route, which should be done on time and budget in September… we started at the northern end near Alten Road, and walked up the hill to Upper Queen Street.
