Showing your support for a more connected cycle network in Tāmaki Makaurau Auckland just got cooler with our limited edition Liberate the Lane stem caps! Read on for the backstory, and an answer to important questions such as “what is a stem cap?”, “how would I put it on?”, and “what noise do lasers make?” Get your stem cap now and ride in style!
Note: Members are able to have a $5 discount if they log in to their account before they purchase their stem cap – log in here or become a member now to access this discount. For your convenience, the bolt is included with purchase.
Skip to:
Last year, in 2022, Teva Chonon joined our Bike Auckland crew as our Community Activation Manager. There are many fantastic things Teva has brought to the team – an immense amount of style, fun gardening-flavoured phrases, photos and stories of fun bike adventures, and, lucky for us, even the occasional bike tune-up!

Recently, as the stylish person he is, he taught us that stem caps can be swapped out and personalised! So, of course, we had to put this to the best use there possibly is: making a fun and super cool way to showcase support for the Liberate the Lane campaign!
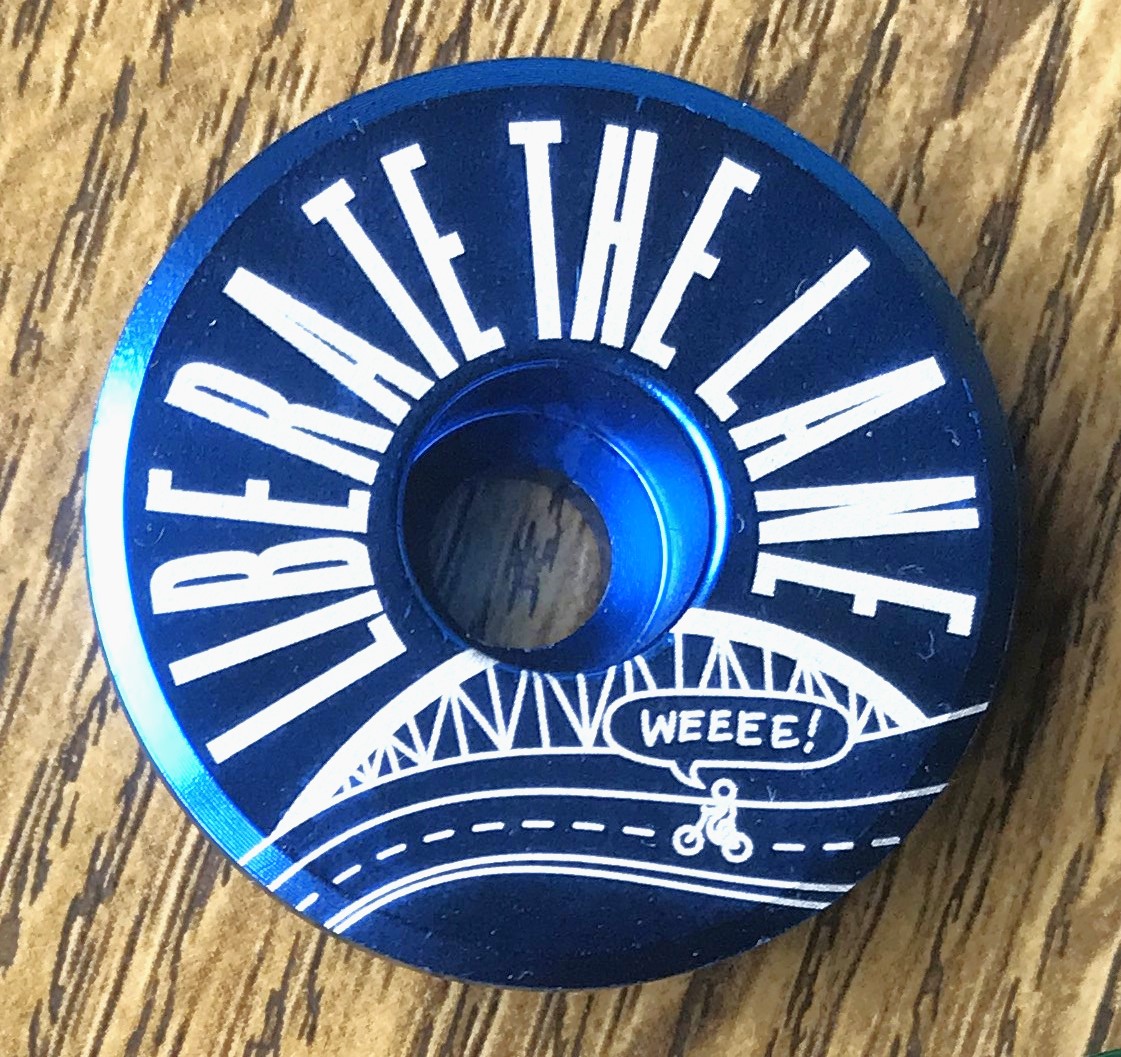

Your shiny Liberate the Lane stem cap will:
- Showcase your support for more inclusive, climate friendly transport options across the Waitematā
- Start conversations with other people about the Liberate the Lane campaign and transport choice
- Look awesome!
- Make you feel super cool!
Not sure what the Liberate the Lane campaign is? It’s all about getting walking, cycling, and wheeling access across Auckland’s Harbour Bridge! This is important to us because it’s the glaring gap in the heart of our city, and is a huge barrier for people choosing to walk, cycle, or scooter for their transport. We want more people to have the choice to move from A to B in affordable, environmentally-friendly ways; and that means making safe, connected cycle and pedestrian networks. Find out more here.

Teva originally brought this idea to us as a way to give back to the awesome volunteer community activating bike ‘burbs all across the region – check out this link to find your local group and see what they’re up to! Everyone who went to the Bike ‘Burbs Hui was gifted a limited edition Liberate the Lane stem cap as a thank you for their amazing mahi to help build cycling confidence in their communities, normalise cycling for transport, and advocate for safer streets! They also got one of these sweet safety pizzas made by the local Paper Roads.
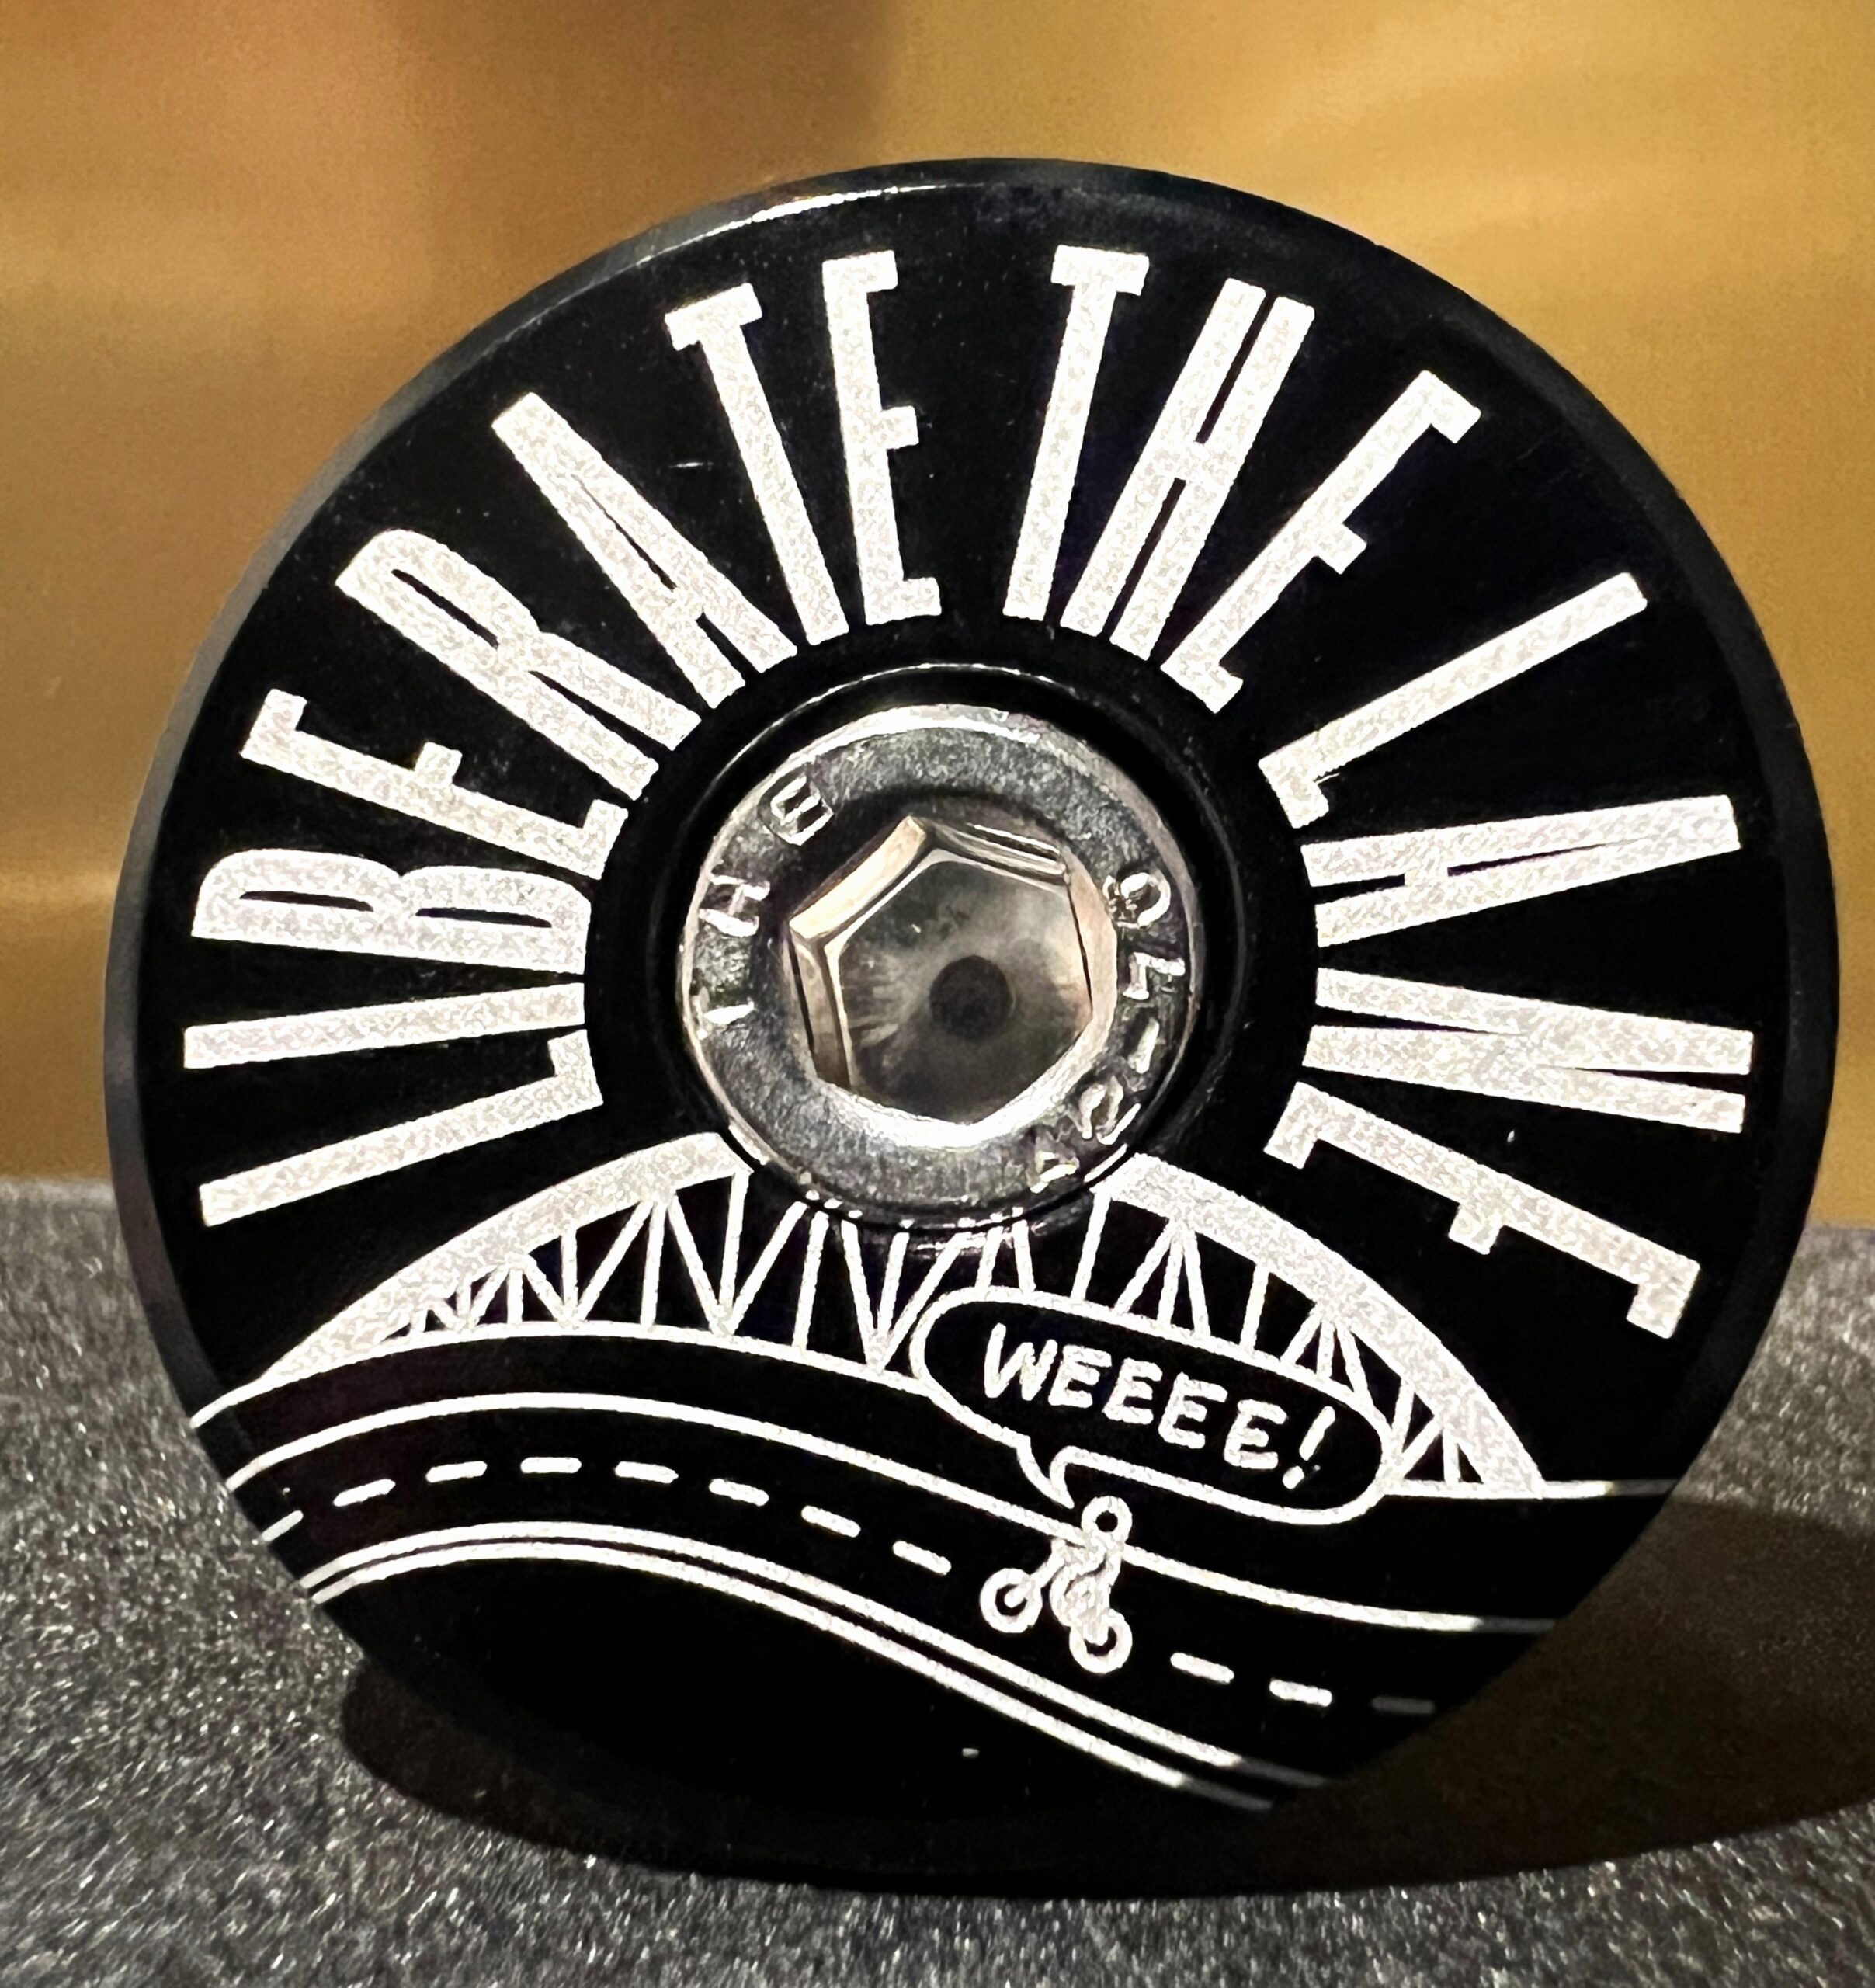
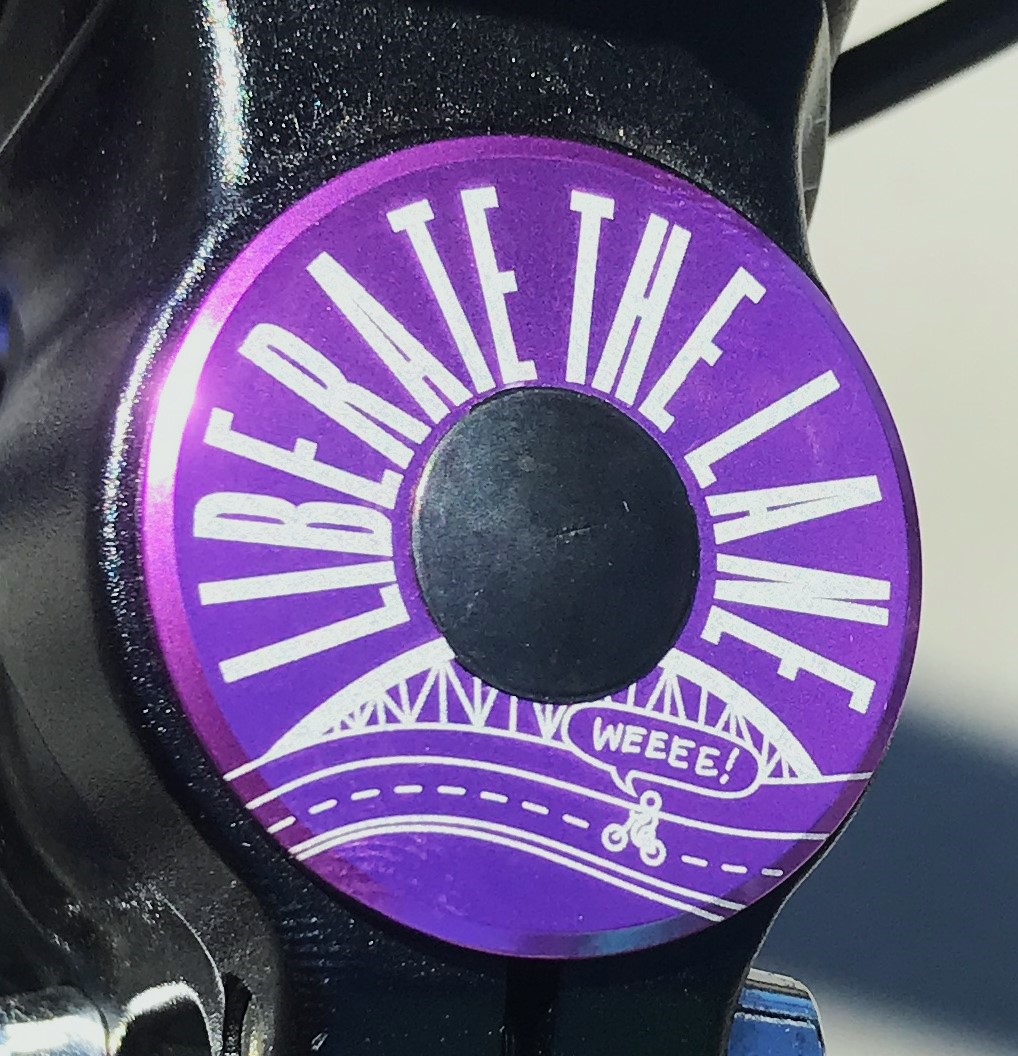
We decided the stem caps should be in theme for our Liberate the Lane campaign. Our illustrator Carol Green made the epic design pictured above, and this laser machine drew the design on to the stem caps (video below)!
The process looks (and sounds) incredibly cool. That coolness absolutely carries over cos you’ll look and feel super cool with it on your bike too! Basically what we’re telling you is that these stem caps are 100% almost guaranteed to improve your street cred*
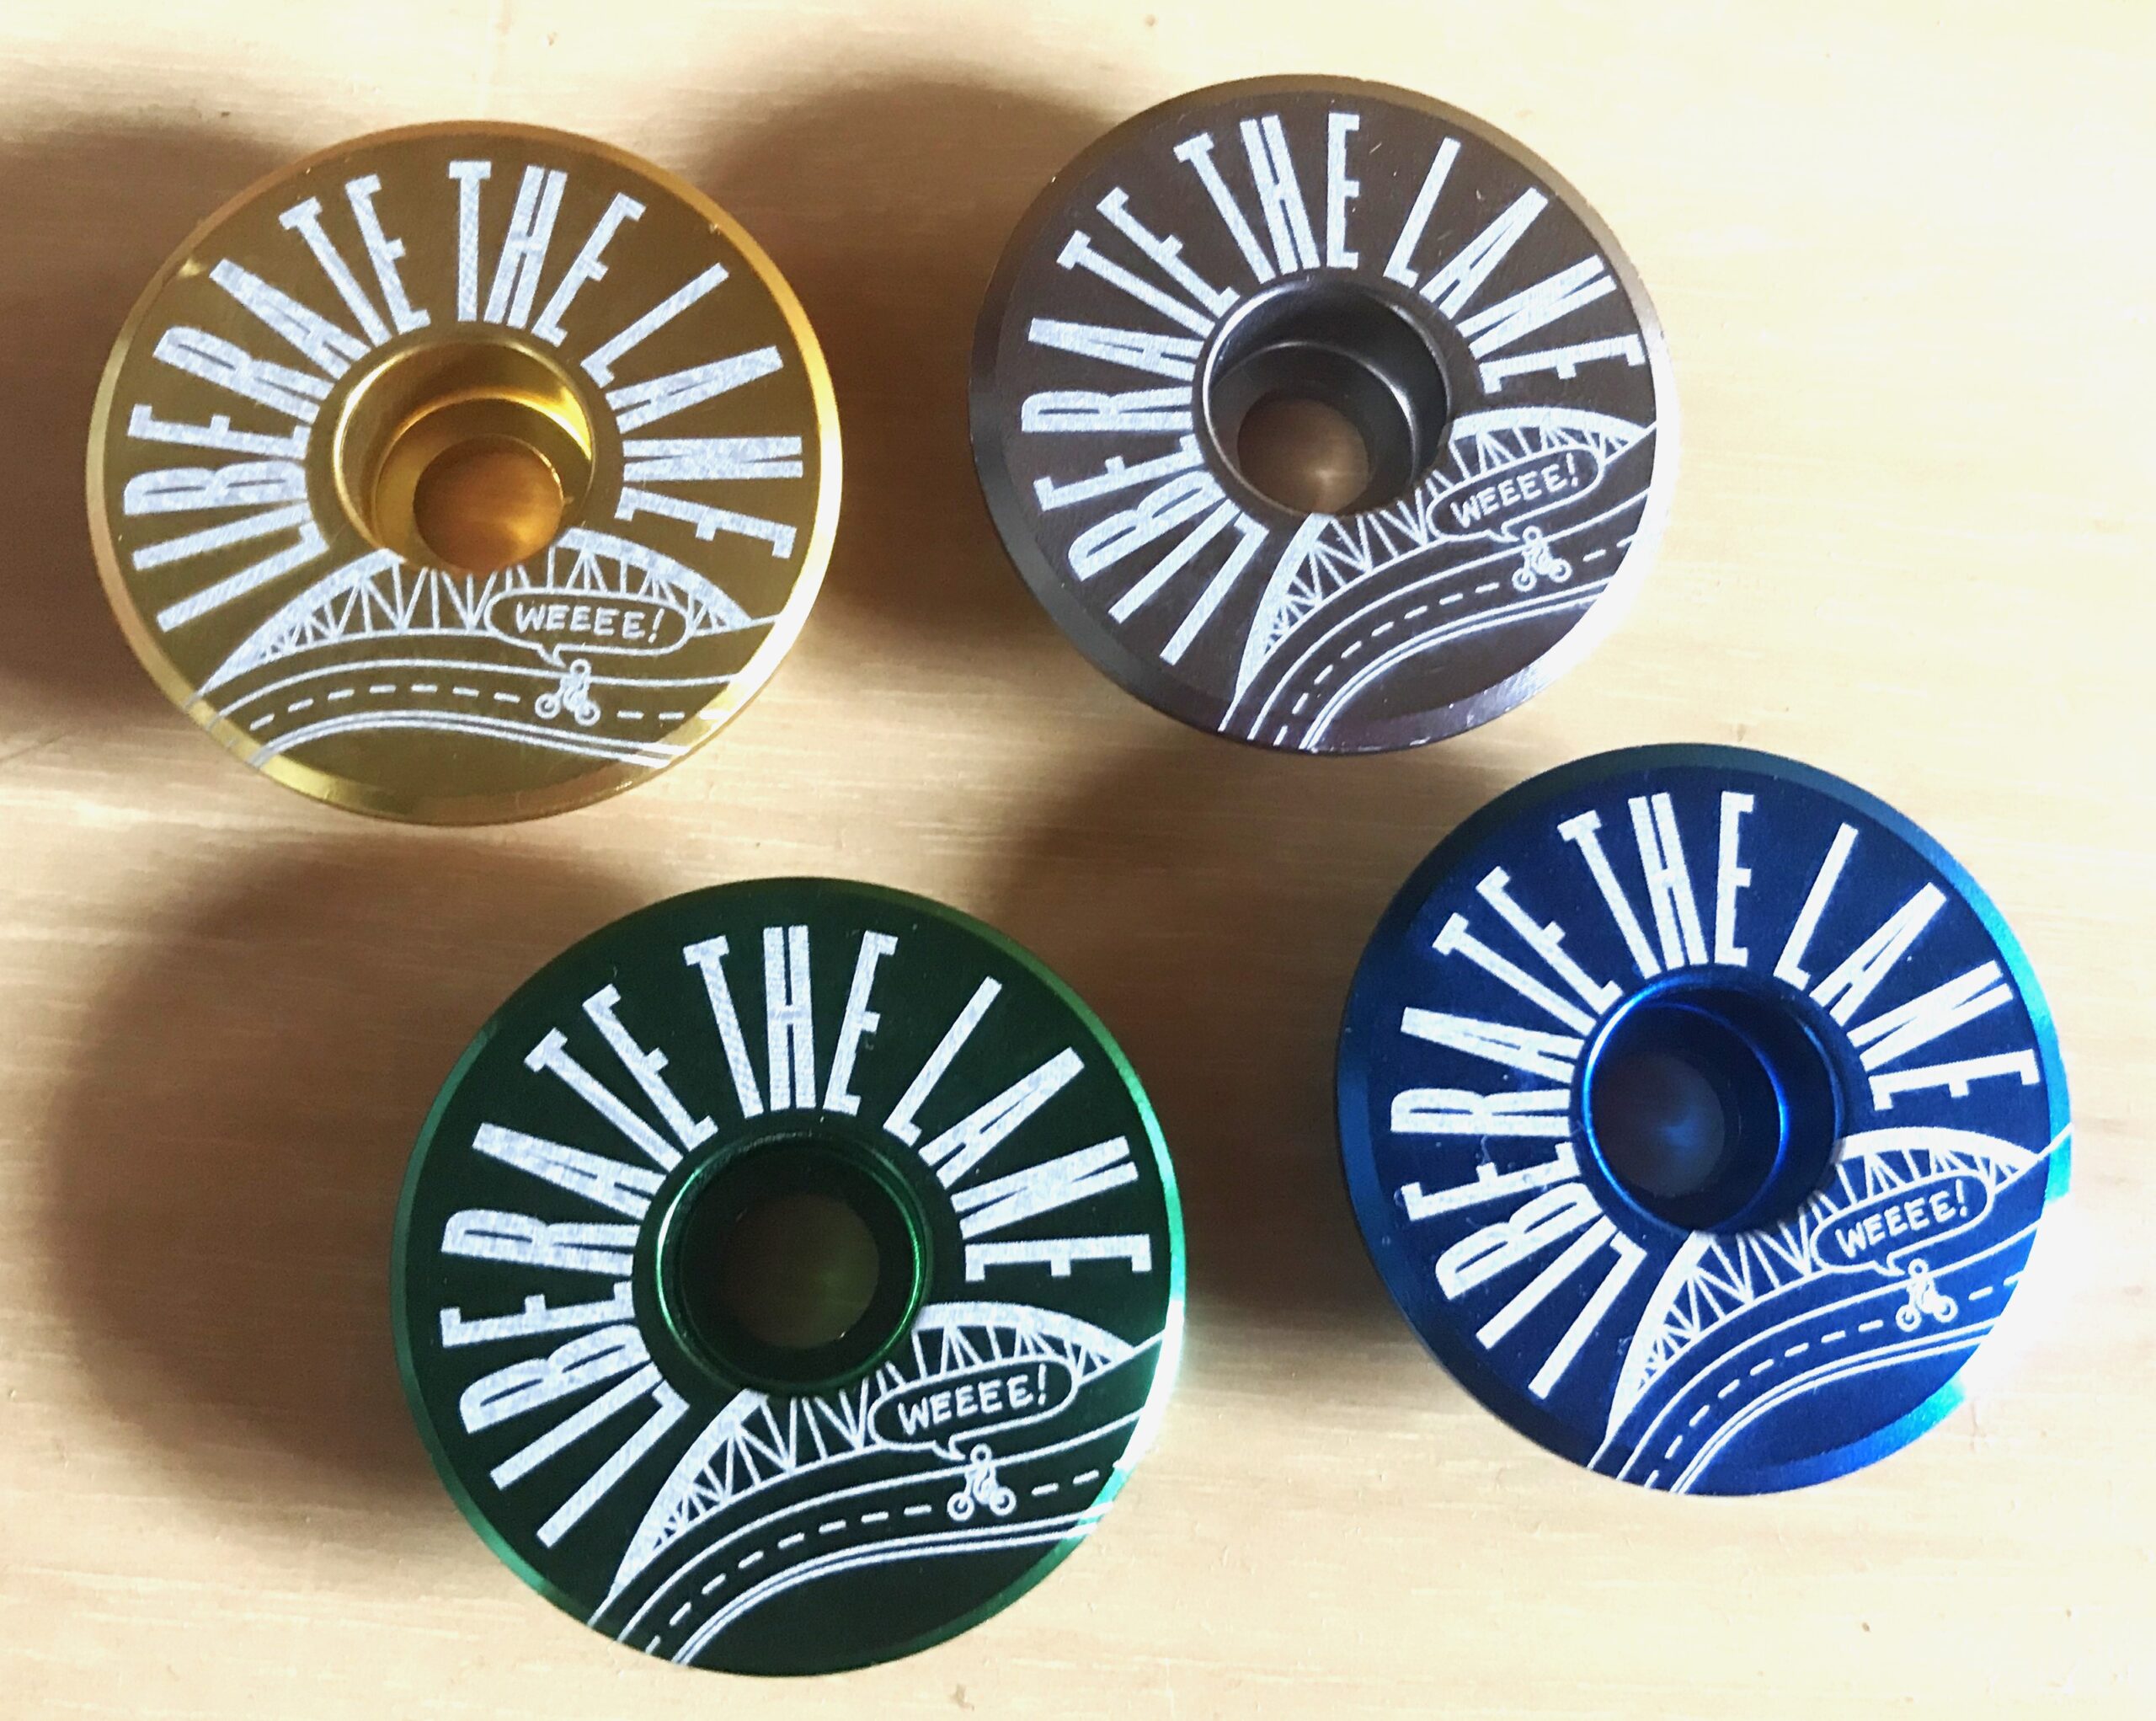
If you’re like me and you have a particular colour theme for your bike, you’ll be stoked to know that there are several different colour options available.
*results may vary
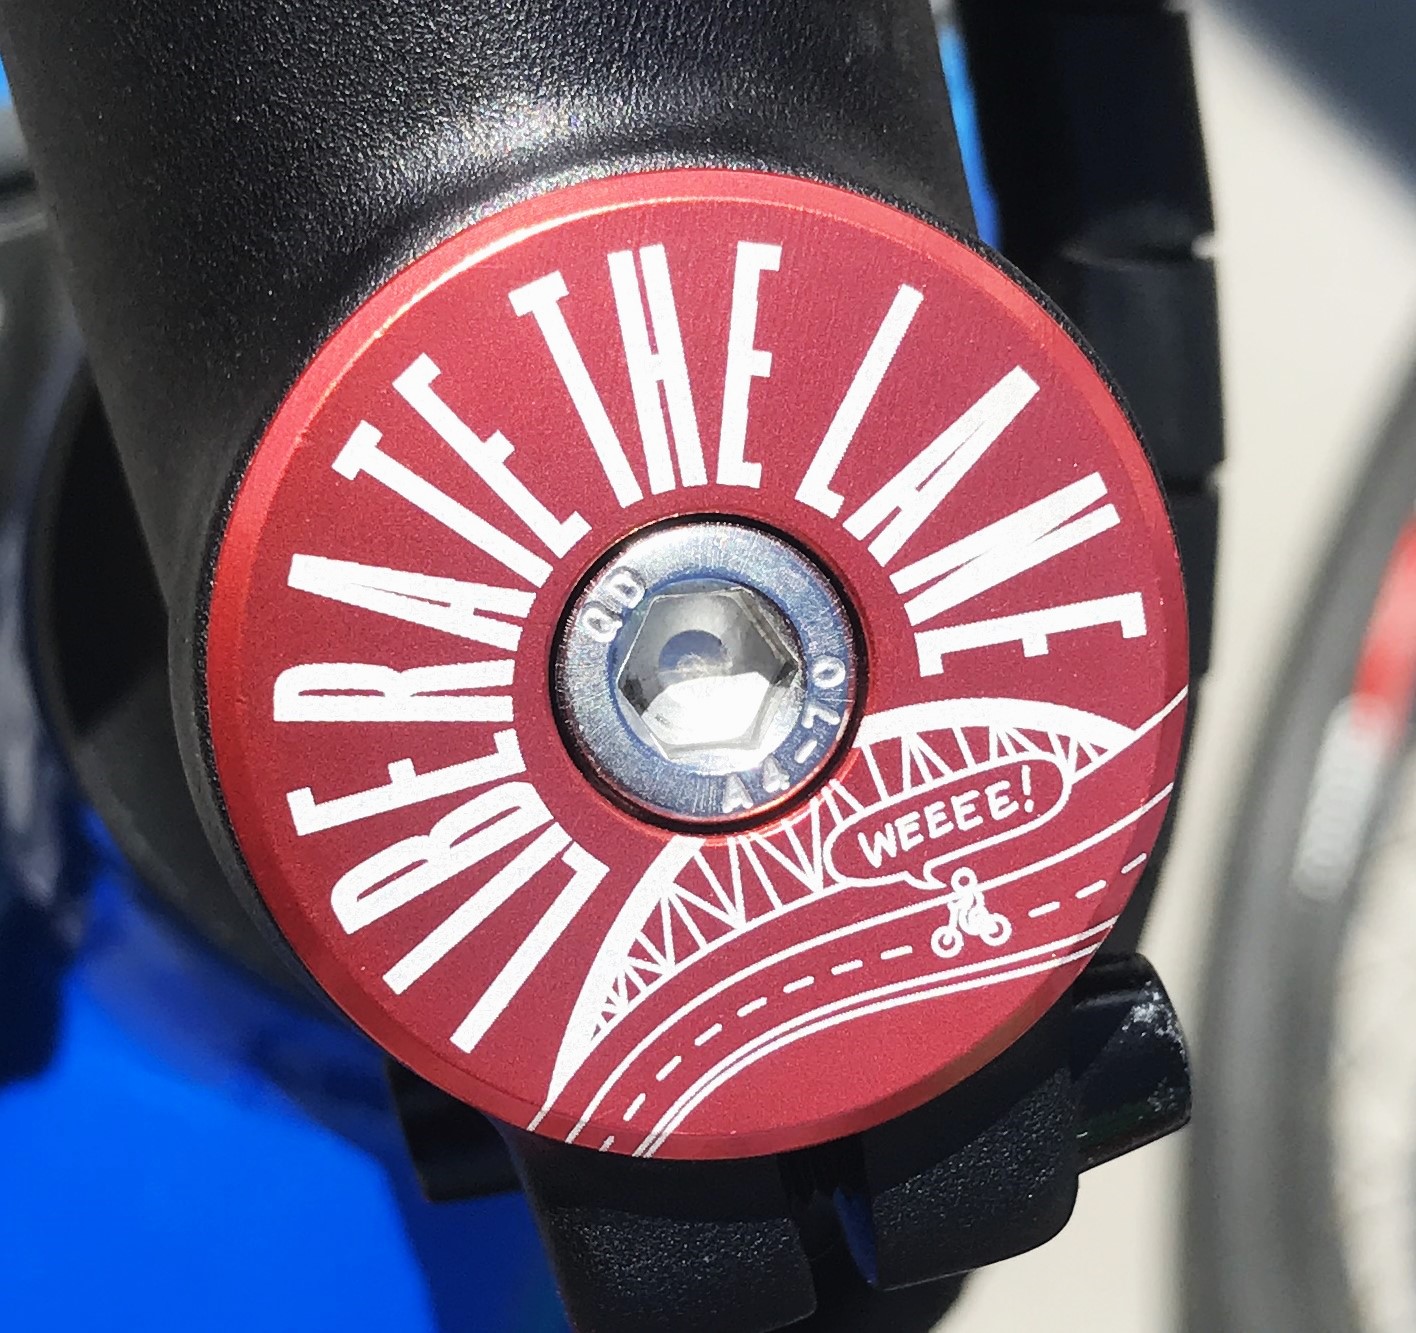
My bike is spider-man themed; black, blue, and (my favourite) red. I’d already decorated it with vinyl spiders and spiderwebs at one of the Electric Bike Team’s craft events. It made me so happy to put this super cool matching red stem cap on there – with the little person saying “weee” and everything. It felt like the finishing touch. You probably think we’re hyping it up just to get you to buy one but I honestly feel absolutely ridiculously cool every time I see this red stem cap on my bike. I hadn’t fully realised how personalising a bike can add so much oomph to how sweet it feels to ride it! Is it uncool talk about it so much? I don’t know the rules.

Your Liberate the Lane stem cap could be your first step towards making your bike ‘a bit of you’. Or, like Fiáin, it could be the finishing touches on an already well-spiced up cycle!
After you have purchased your stem cap the awesome Henrietta Reid will send it to you in the mail, complete with a bolt! Henrietta is already sending out 529 Garage shields when they are sold through our website, so she’s got the system down pat – thank you Henrietta!
Not sure what a stem cap is? No worries, I didn’t know what it was before this either. Read on for an explanation. Not sure how to attach it? No worries, we made instructions for you below.
What is a stem cap?
Don’t know your stem cap from your elbow? It’s this bit here:
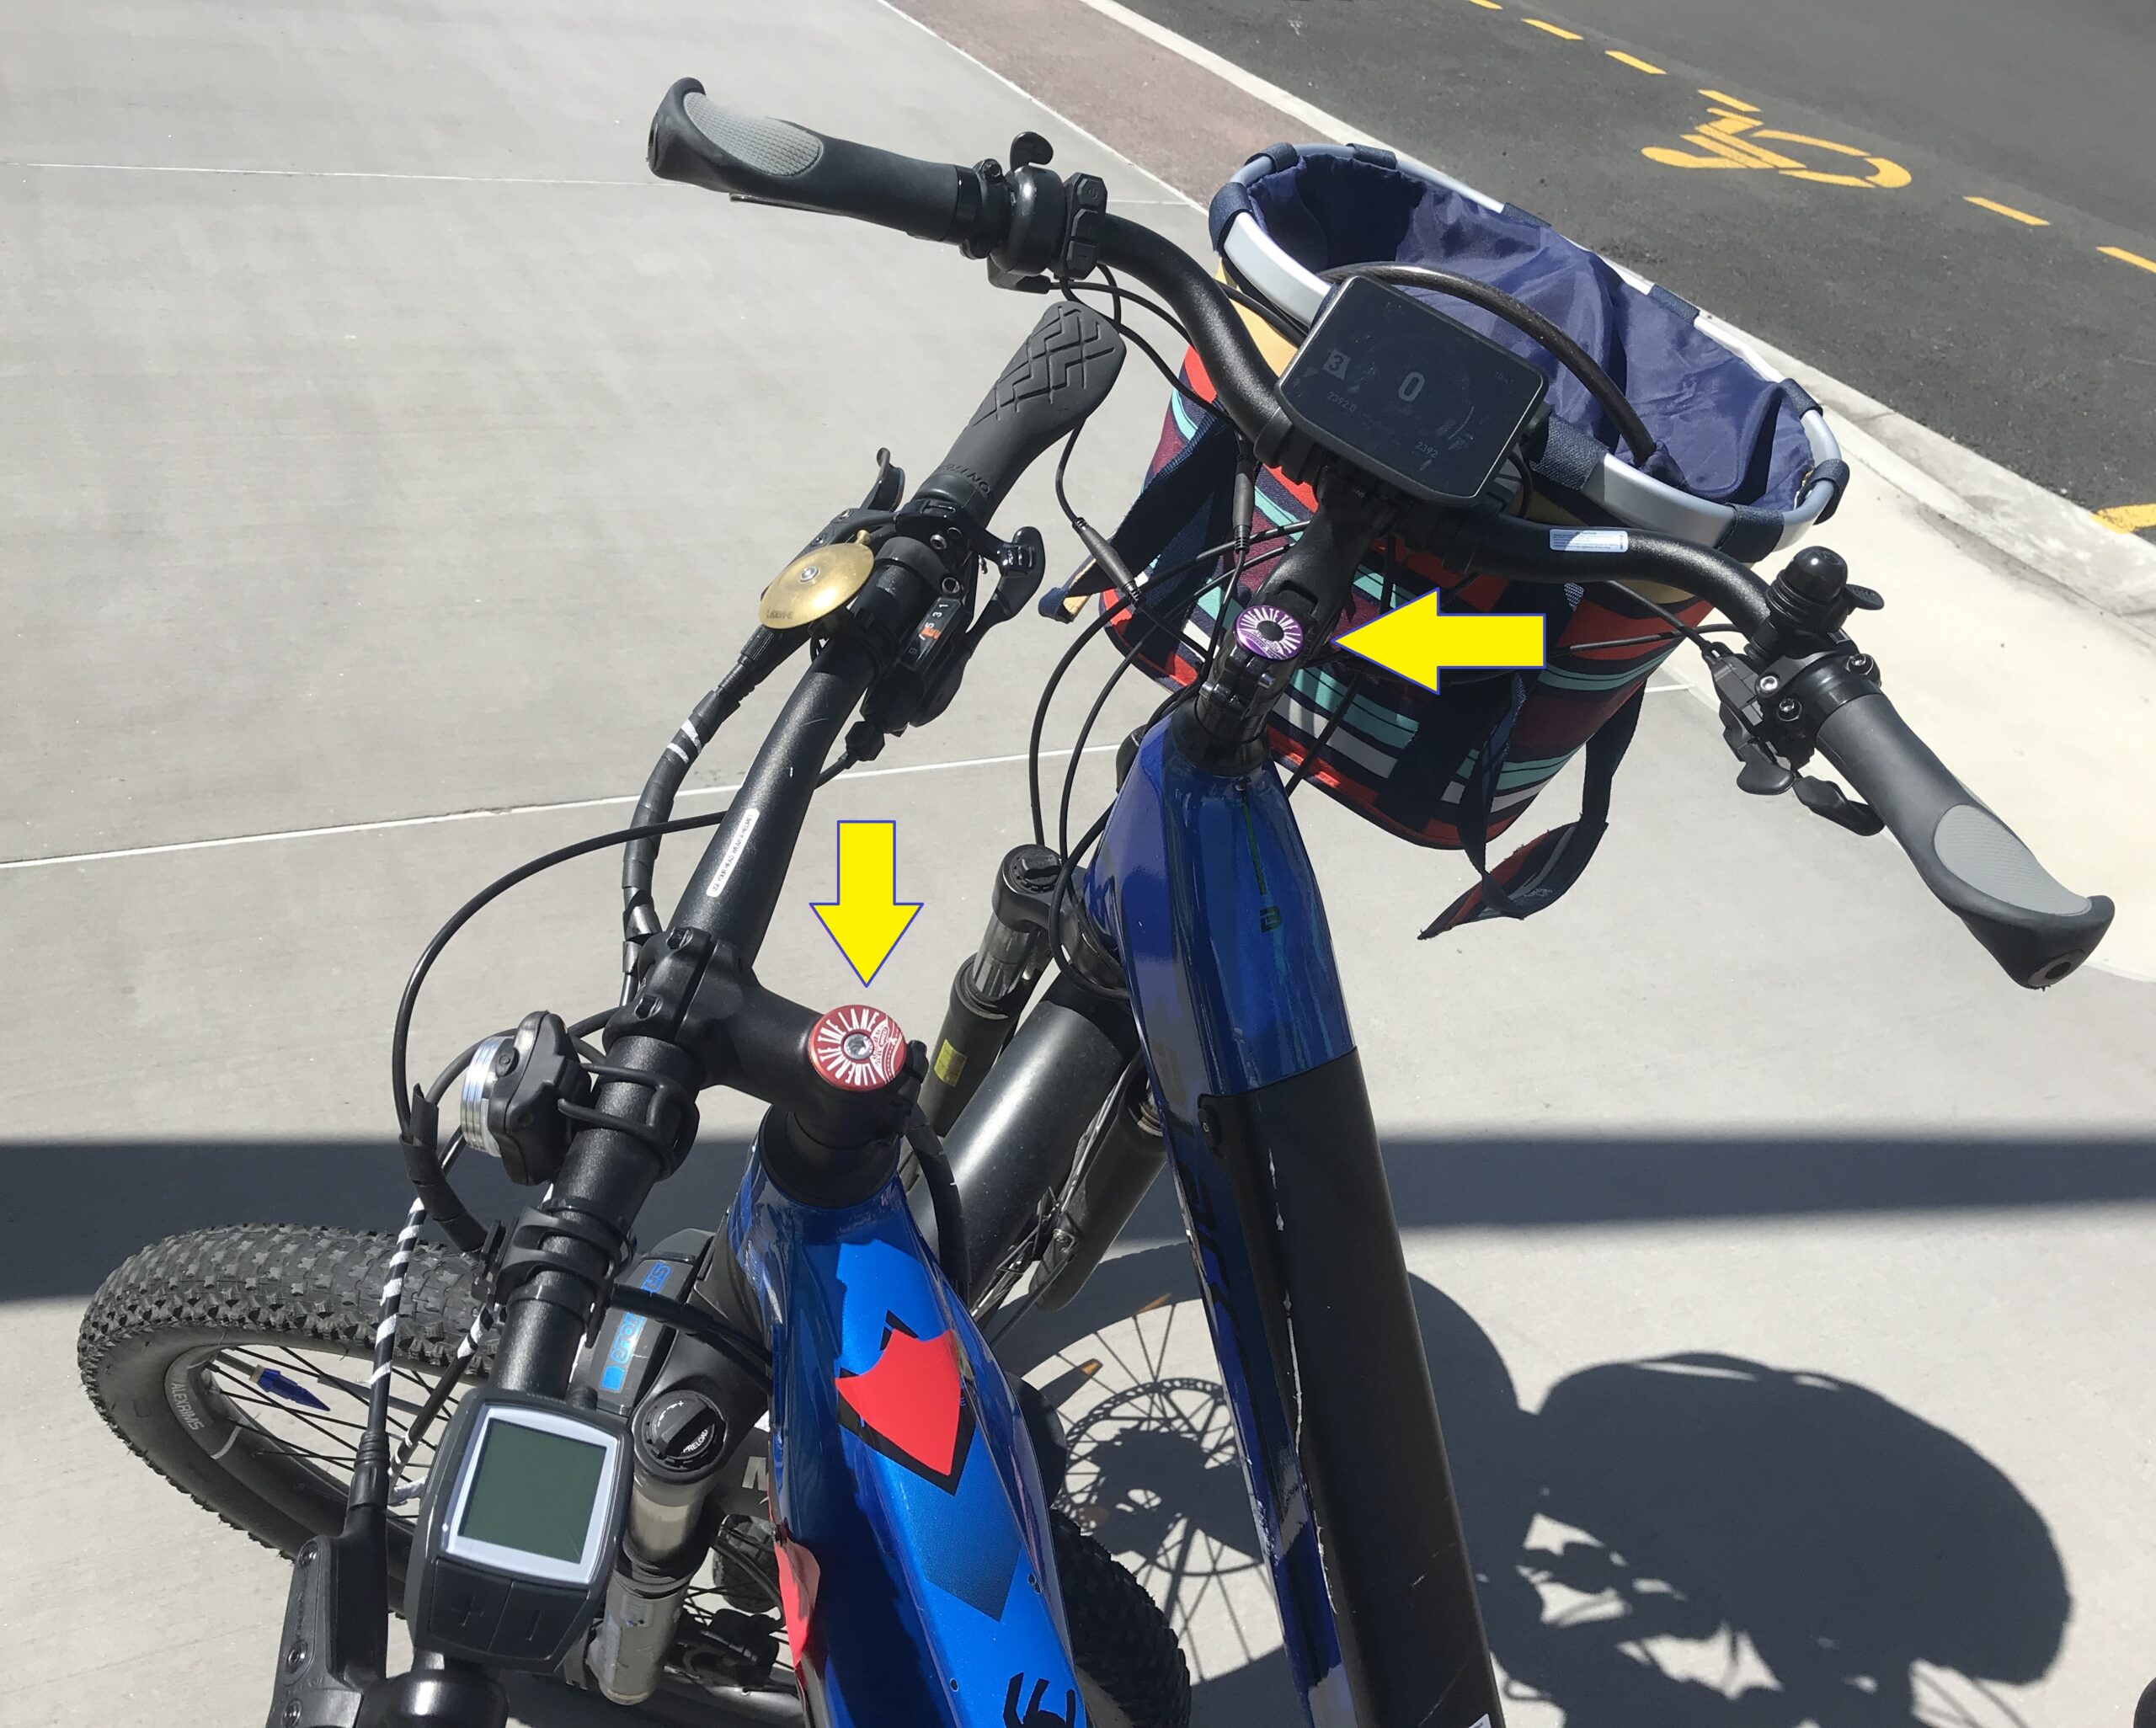
A stem cap is also known as a top cap or headset cap. It’s right near where your handlebars connect to the rest of your bike. Some bikes have a different type of stem which doesn’t have a stem cap so do check to see if yours looks like ours before purchasing! If it looks like the ones in the picture above you should be able to swap it out for one of these epic, super cool, limited edition Liberate the Lane ones!
Stem caps are mostly there to keep the rain out. They’re pretty quick and easy to take out and put back on, making them incredibly fun to swap out and personalise for that extra bit of bike style.
That’s cool, but how do I put it on?
To change your existing stem cap to one of these awesome limited edition Liberate the Lane stem caps follow this step by step guide:
- First, check that you have the right kind of stem and that you are able to replace the stem cap. You can do this by comparing how it looks to the picture in the section above. If it’s round with a hex bolt then it should be able to be replaced with these stylish pieces.
- Decide which colour of stem cap you would like, then purchase it through our website here. If you are a Bike Auckland member remember to log in first!
Once you have received your stem cap and bolt in the mail, you have two options:
- Take your bike to your nearest bike repair hub and ask them to help you to put it on. They can teach you to do it or do it for you;
- Switch it over yourself!
- You will need a 5mm hex key, and whatever size hex key is required to take your existing stem cap off. It’s probably also a 5mm hex key but some of them do vary.
- Unscrew the hex bolt holding your old stem cap in place by turning the hex key counter clockwise.
- Remove the old bolt and stem cap
- Place your new stem cap where the old one was
- Put in the new bolt and turn it clockwise by hand first. If your old bolt is the same size as the new one you can reuse it, though it might not be as shiny.
- Once the bolt feels like it has gripped in, you can use the hex key to tighten it into place. Remember to hold your stem cap the right way up while you turn the bolt (eg. with Liberate the Lane facing whichever way you would like it to face) or it will end up facing a random direction. Note, the stem cap does not need to be in super tight. It is not holding anything in place. So, once it feels tight it’s good to go.
Congrats! You did it! You have a super cool stem cap on your bike and have gained +10 cool points! Welcome to the club!


